Welcome to Moda Fabrics!
Tip Jar: Half-triangle Squares
Tip Jar: Half-triangle Squares
When I first started making quilts, I loved strip-piecing. Nine-patches and four-patches, Irish Chains and Rail Fences - even strips that finished at less than 1" didn't seem that difficult. I made a Sun and Shadow quilt, a Trip Around the World and a Lone Star - it was still strip-pieced. But half-triangle squares? Not. On. The. List.
The only thing my pieced units had in common with half-triangle squares is that they both had four sides. Ninety-degree corners? Yeah, right. I was lucky if I could manage getting one that could be deemed to be a right-angle.
Then I learned that there was more than one way to make them and I was hooked.
So that's the subject for today - half-triangle squares.

Edyta Sitar of Laundry Basket Quilts uses a lot of half-triangle squares - the quilt on the wall is Blue Spruce and the one on the bed is Frost. Both are made with Cold Spell Prints & Batiks.
Not half-square triangles - though they are required to make a half-triangle square. It's been the subject of some amusement since I started working here because I have always called the square made up of two equal-size triangles a half-triangle square. A half-square triangle is the single triangle part. (And yes, I use the same distinctions for quarter-triangle squares and quarter-square triangles. I know... I'm an odd duck.)
Whatever you like to call them, I think it's important to know as many ways as possible to make them because you never know when you might need to use a different method. Tools for the toolbox, right?
The "old-fashioned" way of making HTSs was to cut two squares 7/8" bigger than the finished size you needed your HTS to be. E.g., 3" finished meant cutting two squares 3 7/8" x 3 7.8". One light, one dark. Cut the squares in half on the diagonal and sew the long side with a scant 1/4" seam allowance.
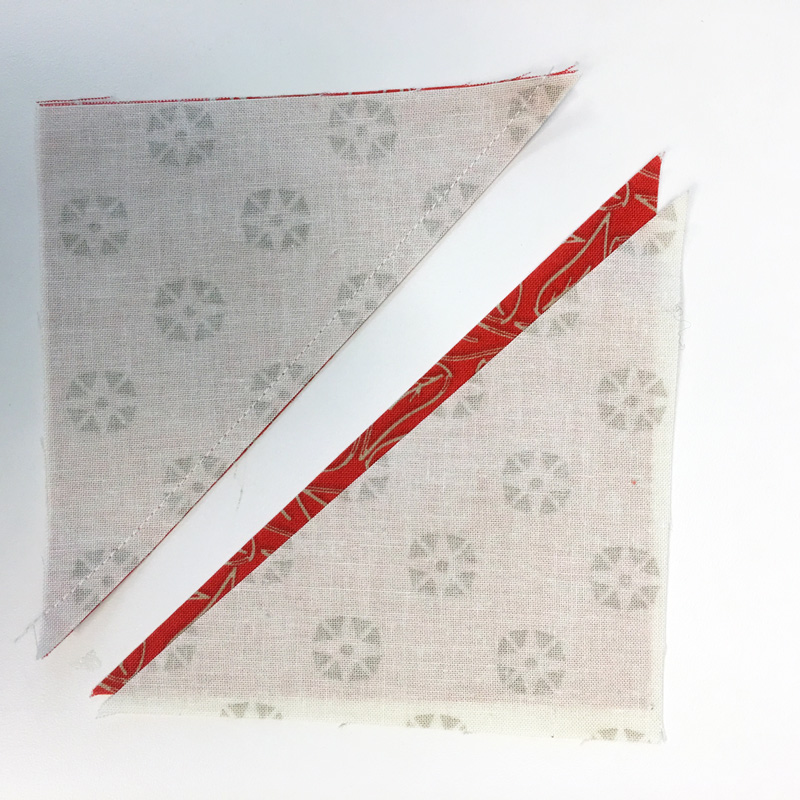
Press the seam to the dark side and pray for the best.
Or maybe that's just me.
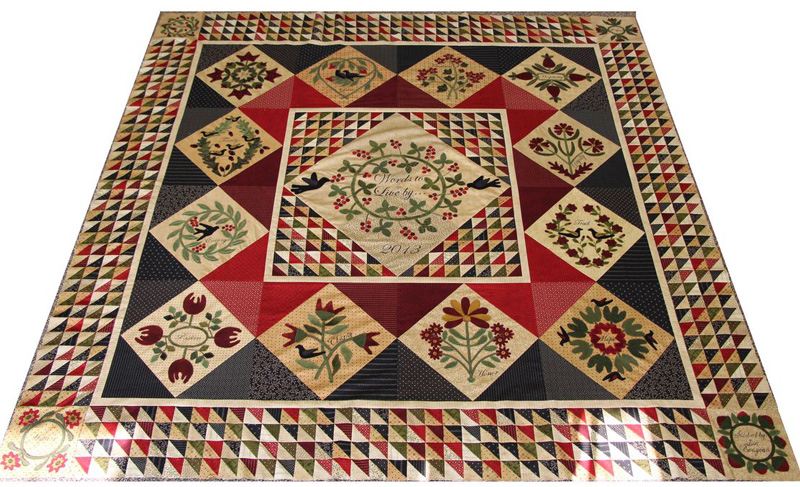
This is Lisa Bongean of Primitive Gatherings' spectacular, award-winning Words To Live By quilt combining a squillion HTSs and wool applique.
Half-triangle square rulers. Sewing two triangles together to piece the required size of HTS can also be done by using specific rulers to cut the triangles - a 4 1/2" or 6 1/2" Easy Angle or an Omnigrid 90-degree ruler.
Then it's sew, press and presto - the finished HTS that measures what you need it to measure.
Using squares instead of triangles. Somewhere along the line, some genius quilter got the crazy idea of not cutting the square in half to make triangles - instead a line was drawn on the wrong side of the "light" fabric and the fabrics were stitched a scant 1/4" on both sides of the drawn line.
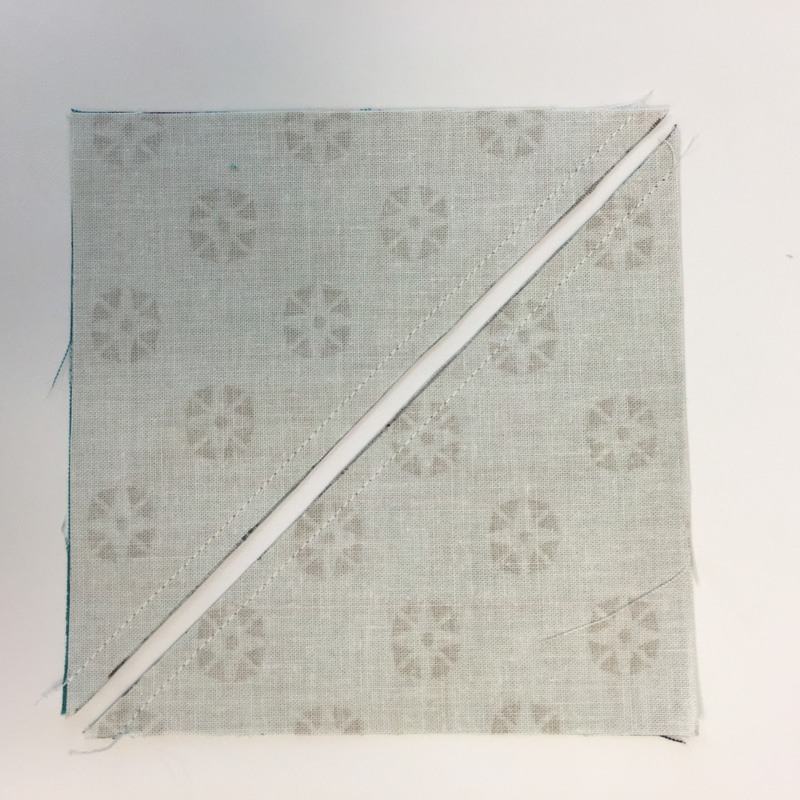
Cut it apart on the line and press the seams to the dark side.
The only thing you needed to know was the math of what size square to cut - finished size plus 7/8".
Some rulers make it even easier, you don't need to know the math. The Magic Half-Square Ruler from Quilter's Rule is an example. Just use the lines on the ruler that correspond to the finished size you want to make and cut the squares.
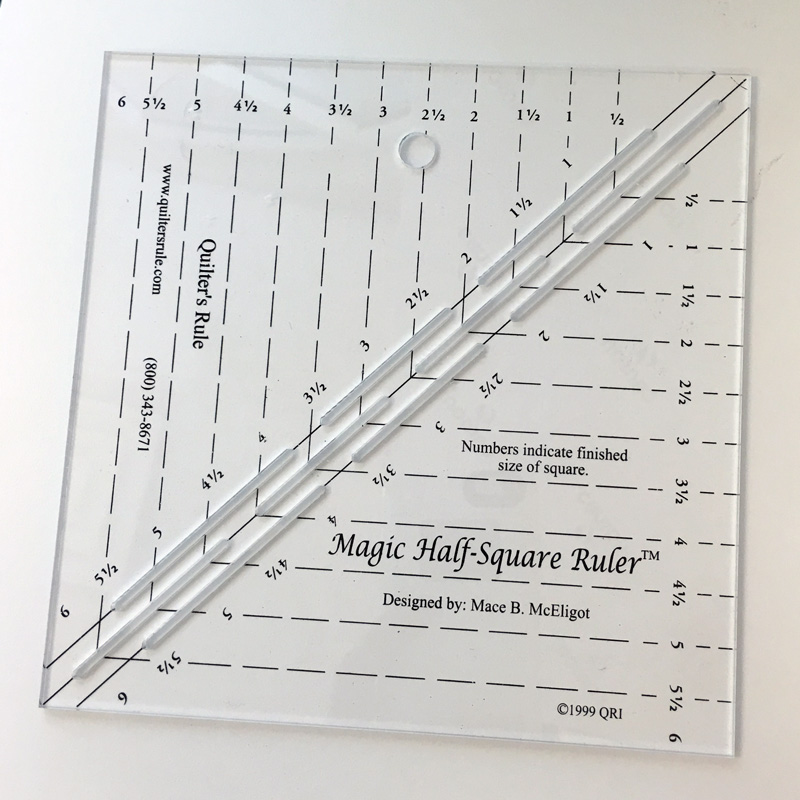
Then use the openings in the diagonal center of the ruler to mark your stitching lines or the center-guideline. Stitch, cut, press and done - the HTS is the right size.
There are a couple more options in the "draw the line" technique that I'll talk about in a moment - we're still piecing exactly to size here.
Triangle paper. There are several different brands and types, and while they basically work the same way, there are some differences that might make one more preferable than another.
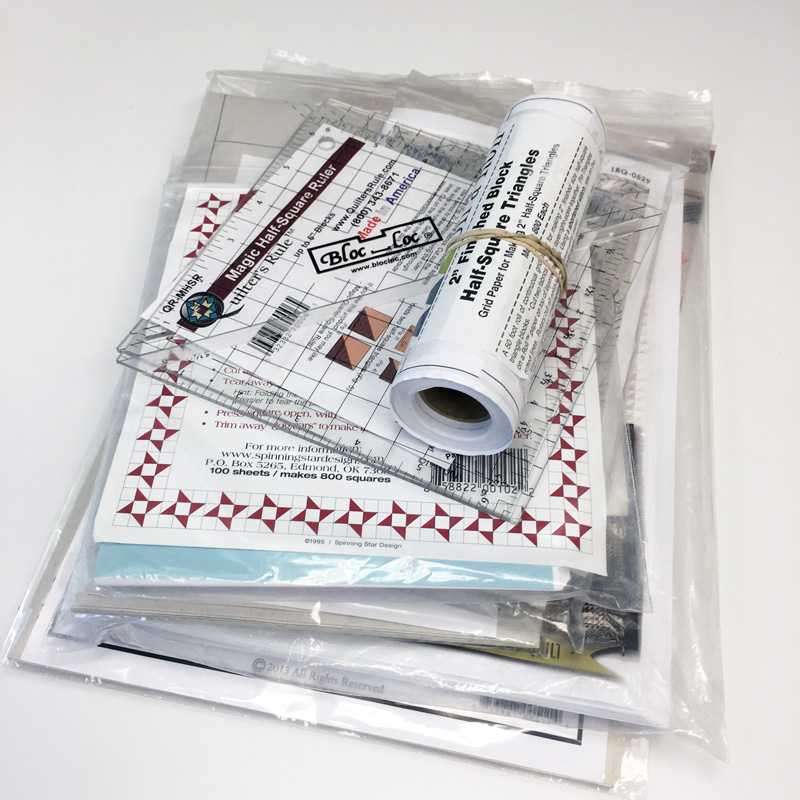
While I don't use triangle paper often, it's the best method when you're making a lot of HTSs that need to be the same. If you need 8 or more matching HTSs, or all your HTSs use the same background, triangle paper is absolutely the way to go. At least that's what I'll be using.
Here are some of the different kinds:
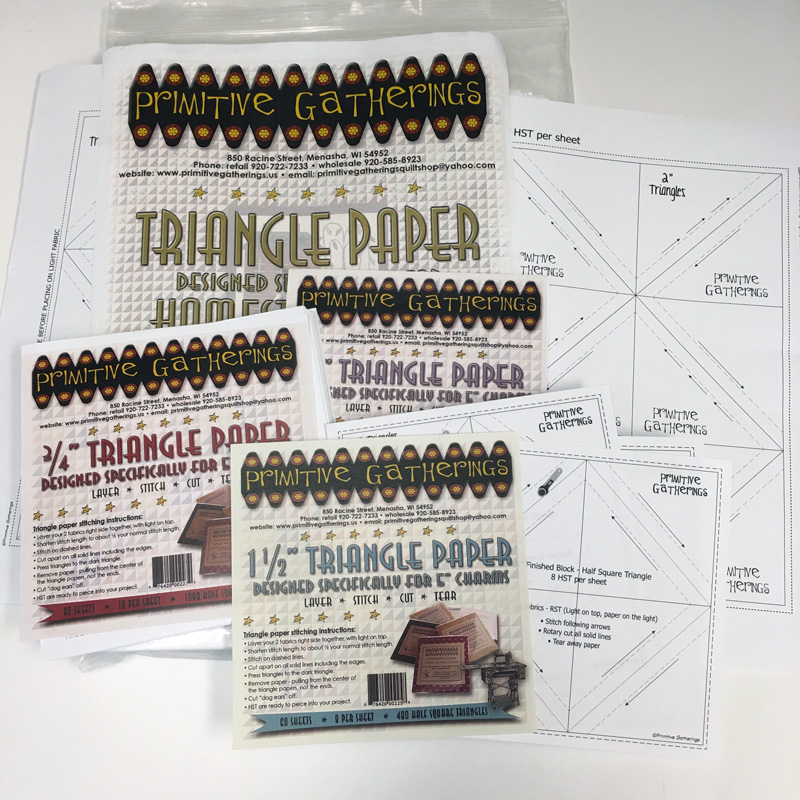
- Primitive Gatherings Triangle Paper
- Because she does so many small quilts with little pieces, Lisa was the first to make a triangle paper specifically for 5" charm squares. The other triangle papers are printed on 11" x 17" and can be easily trimmed when only 4, 8, 12, etc. HTSs are needed. Both are available in a wide range of sizes.
- The paper is white, copy-like paper. It stitches and tears off easily.
- Lisa also does triangle paper kits for some of her "has lots of HTSs" patterns.
- I used Lisa's 2" finished HTS paper when I made "Shamelessly Copying Jen". I trimmed the paper to a 3 x 3 grid - enough for 18 HTSs - and saved the remaining piece.
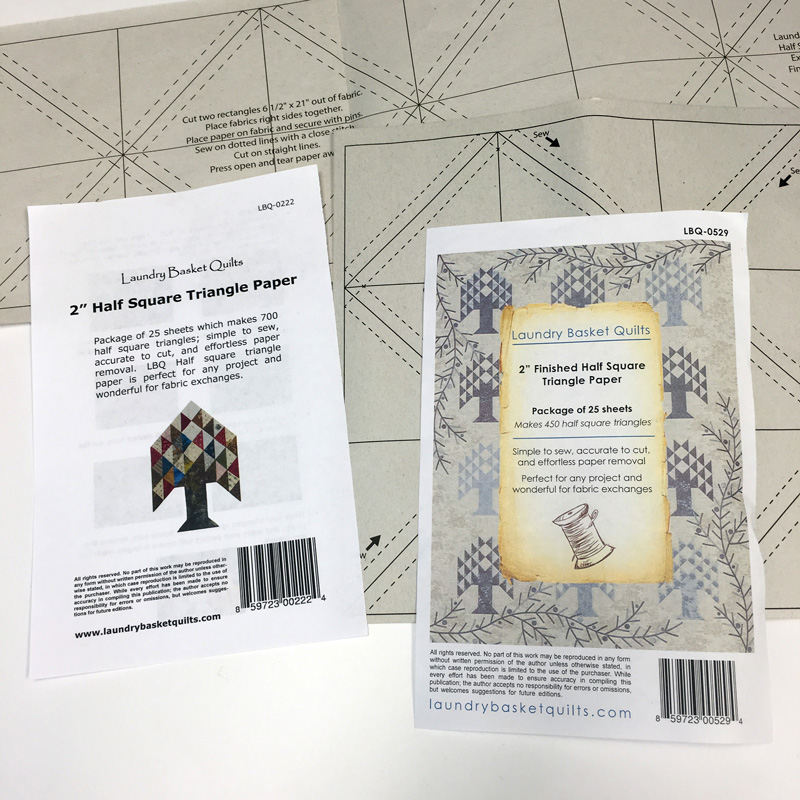
- Laundry Basket Quilts Triangle Paper
- Edyta has been making triangle paper for many years - if you made anything from her wonderful Friendship Triangles book, you're probably familiar with her papers. At Fall Market last September, Edyta introduced triangle papers specifically sized for Layer Cakes and Charm Packs.
- The original paper was designed for use with a 21" strip cut from a fat quarter or fat eighth. But it can easily be trimmed if only 4, 6, 8, etc. HTSs are required.
- Edyta's papers are printed on a newsprint-like paper so they also stitch and tear easily. I think these papers are easier to pin than some of the others - and yes, pinning the paper to the fabric is a good idea as it does like to shift as you stitch.
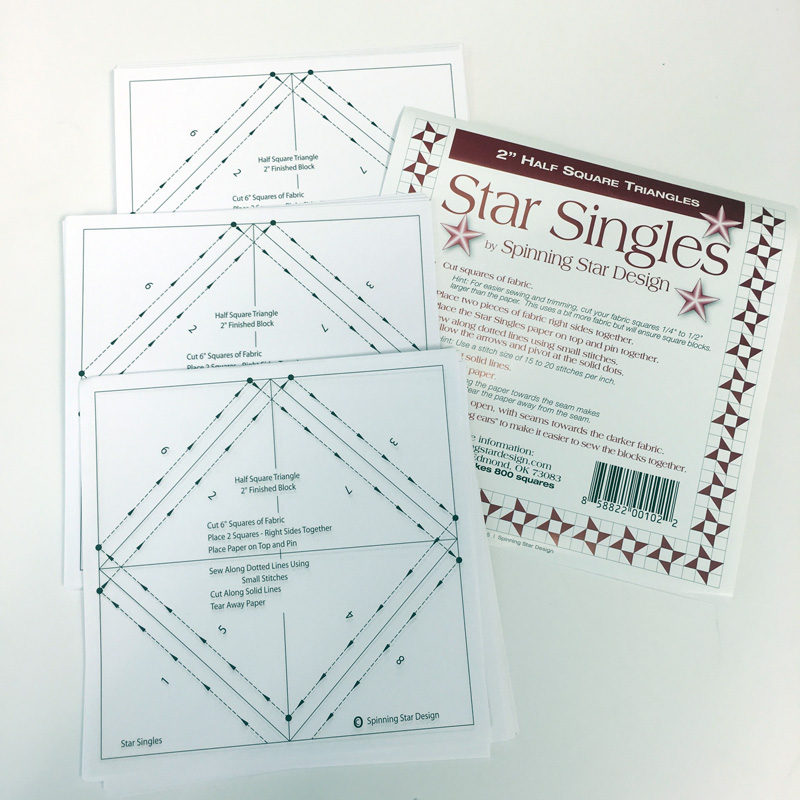
- Spinning Star's Star Singles
- If I'm making blocks where I need eight matching HTSs, or I'm making a quilt with a lot of variety for the "lights" and "darks", this is my favorite paper to use because it's already sized for just eight HTSs. Anything that makes life easier is a good thing, right?
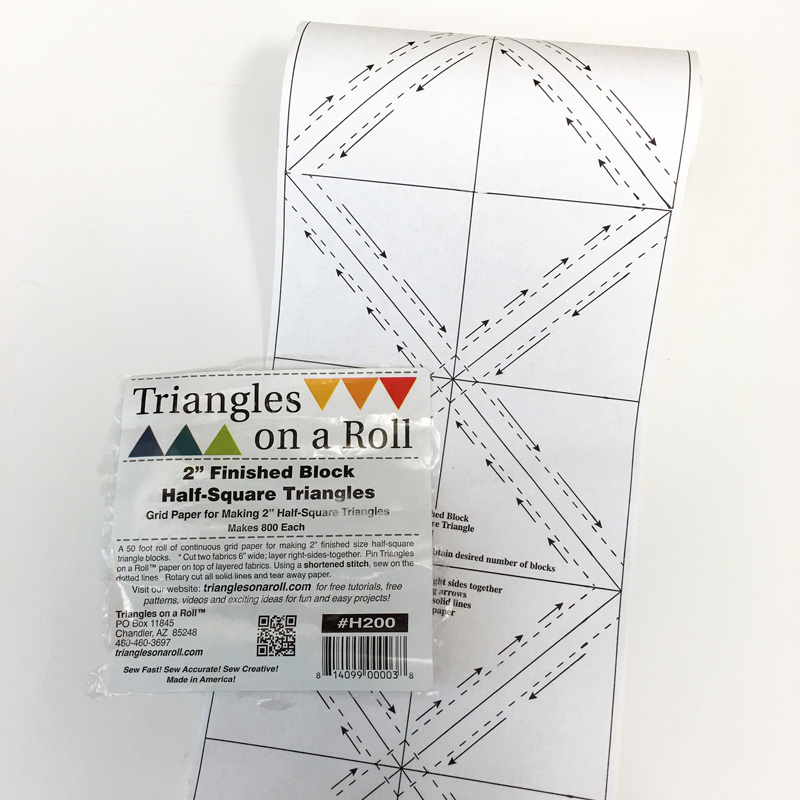
- Triangles on a Roll
- This paper was created by two ladies who used to own a quilt shop in Phoenix, Arizona so this is the first triangle paper I used. It's still a terrific product. It comes in a wide variety of sizes and can be trimmed to any length - multiple of 4 - that you need. The paper is also thin enough that it is easy to pin, stitch and tear off.

- SQangles**
- SQangles get an asterisk because they really aren't a triangle paper - they're an iron-on printable that transfers the same grid used on paper to your fabrics. There are no lines to draw or papers to tear. I've used them a few times and if you make a lot of matching HTSs and don't like the time or mess involved with tearing-off paper triangles, SQangles are a terrific option.
- Ta-Da Triangles**
- Another asterisk because Ta-Da Triangles are a pre-printed on a thin fusible interfacing that is adhered to the fabric. As with SQangles, there aren't any lines to draw or papers to tear. There are approximately 2 yards of the printed interfacing in each package and while it is sized to fit fat quarters, it can be trimmed to fit Layer Cakes and smaller pieces of fabric. It is simply a matter of cut, press, sew, cut and press. (That sounds like more than it is.)
- Thangles
- If you have a lot of pre-cut strips - including Jelly Rolls - Thangles are great because everything is based on the 1/2" and 1/4" increments - not the 7/8" measurement.
Trimming to size. Finally, right?
If I'm making a lot of very scrappy HTSs, this is my "happy place" - it's where I get the best results for me.
And where the little extra-triangles get trimmed off in the same step - those do need to be removed. Always. No matter what method you use.
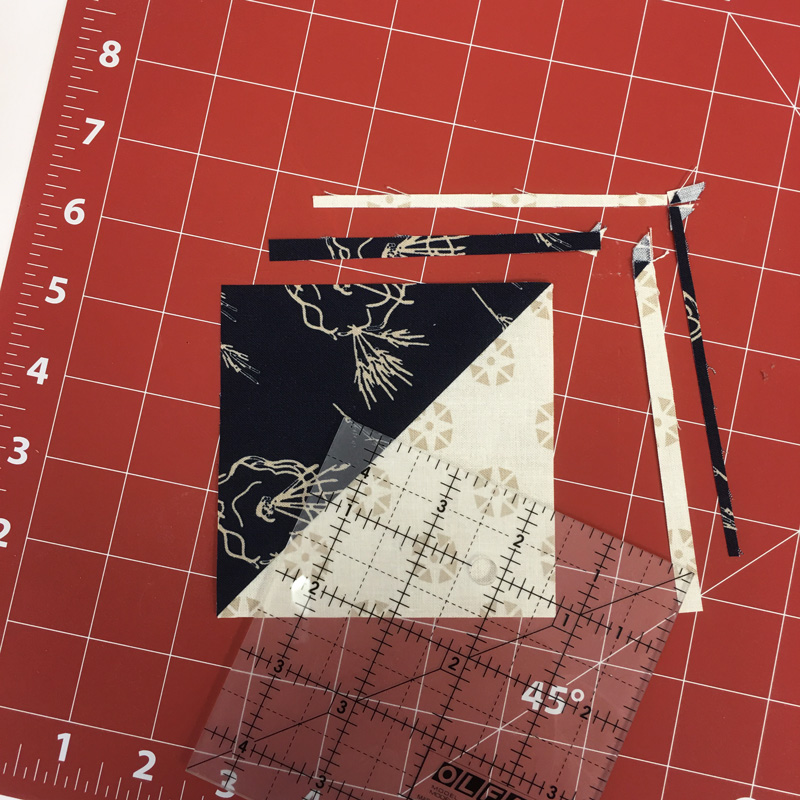
I use the draw-the-line method and just add 1" to the finished size of my HTSs. Some people prefer to add a little more - 1 1/8" or 1 1/4" - to the finished size but 1" works for me because I always stitch them with a slightly-smaller than scant 1/4" seam allowance to get a teeny bit more wiggle-room. Trimming-to-size also works with other methods, a sweet friend and amazing quilter trims down HTSs that she's made with an Easy Angle ruler.
What kind of ruler to use? There are several - hundreds?
- A regular, old-fashioned square ruler measuring 4 1/2", 6 1/2", 9 1/2", etc. I like the Olfa Frosted 4 1/2" x 4 1/2" ruler.
- Bias Square Ruler from That Patchwork Place. This ruler is designed for trimming HTSs and if you make anything that needs "finished" HTSs in 1/8" sizes - e.g., Feathered Stars - this is a terrific choice.
- Itty Bitty Eights by Lisa Bongean for Primitive Gatherings. I love these rulers with their 1/8" markings.
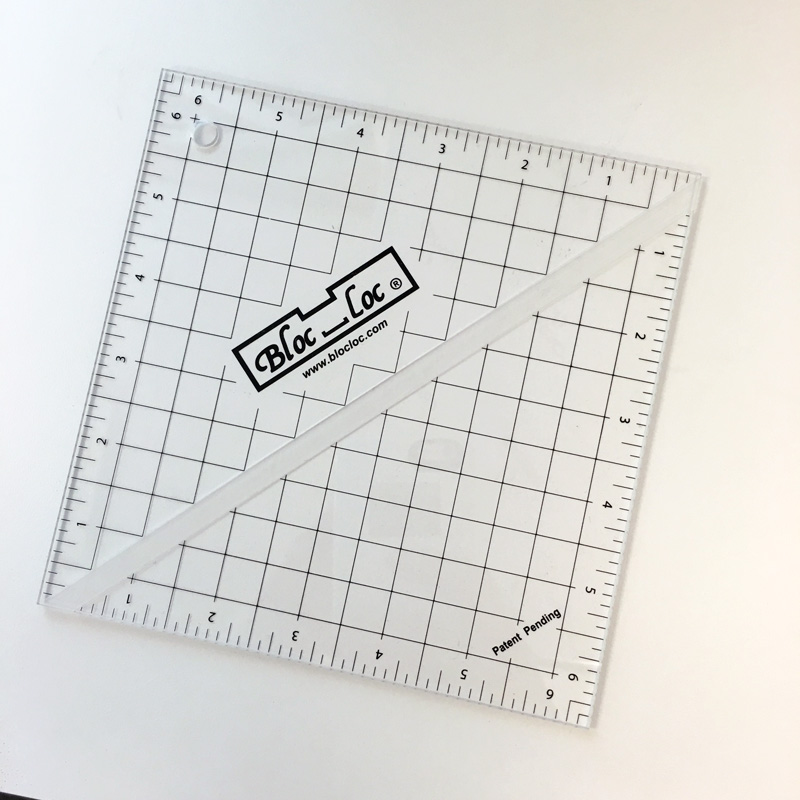
- Bloc-Loc. When the first Bloc-Loc rulers for HTSs came out, you needed a different ruler for each size HTS. That didn't seem very practical to me... and my regular Olfa was working just fine, thank you. Then the Bloc-Locs got regular ruler-markings and it was all over - I fell in love. Swoon-city!
Quilters who don't like trimming-to-size usually cite one of these reasons - it takes time, it wastes fabric, and an accomplished quilter-sewist should be able to piece things exactly to size.
Does it take time? Yes, but I think this is so much of a personal preference. It's odd but I like the repetitive nature of trimming half-triangle squares - and flying geese. I can be listening to an audio book or something on television and it goes more quickly than you'd think. And trying to fight a block that isn't square because one or more pieces isn't square is more frustrating.
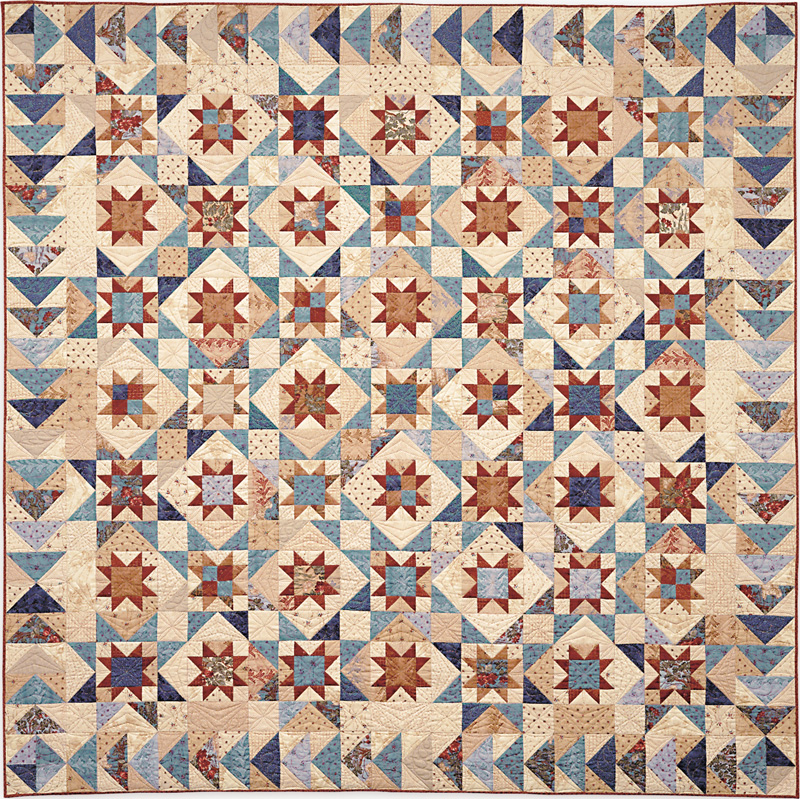
Wasting fabric - this is another one of those "yes, but..." questions for me. Many years ago, I was asked during a presentation about making flying geese. When I replied that I trimmed them down using one of the new-at-the-time rulers, the lovely lady who had asked the question replied that trimming wasted too much fabric for her. I was showing a quilt at the moment made entirely with flying geese - stars and a flying geese border element - and had written the pattern for both no-waste and the ruler-of-the-moment methods so I knew how much additional yardage was involved. An additional 3/4 of a yard was required. But for argument's sake, I said let's say it was twice that amount, 1 1/2 yards. And I would price the fabric at $10.00 a yard - higher than the $8.50 cost at the time. (I did say it was many years ago...) The "waste" was going to cost me $15.00 - and for that, I was "purchasing" square blocks and a flat, straight flying geese border strip. I get that it can sometimes be a significant expense but I think we make those decisions based on several factors. To get the best possible results, I do better with trimming some units down to size.
(Just so you know, the lady who asked the question laughed and said "well, if you're going put it that way...")
As for the notion that I should be able to piece things exactly to size... my first inclination is to say "whatever". But I do agree with the point - mostly. Do I know how to cut carefully, stitch with a perfect scant 1/4" seam allowance and then gently PRESS my units so that they are flat and square... meaning, not distorted? Yes. But all that time I save by not trimming things down... I'm spending going really, really, really slowly. Knowing how and putting that knowledge into practice are two entirely different things.
No, being a quilter does not mean that you are a patient person. I am Exhibit A.
For more tips and tricks about making any kind of pieced triangle unit, I recommend checking out Pat Sloan's latest book - Teach Me To Sew Triangles from Martingale/That Patchwork Place.
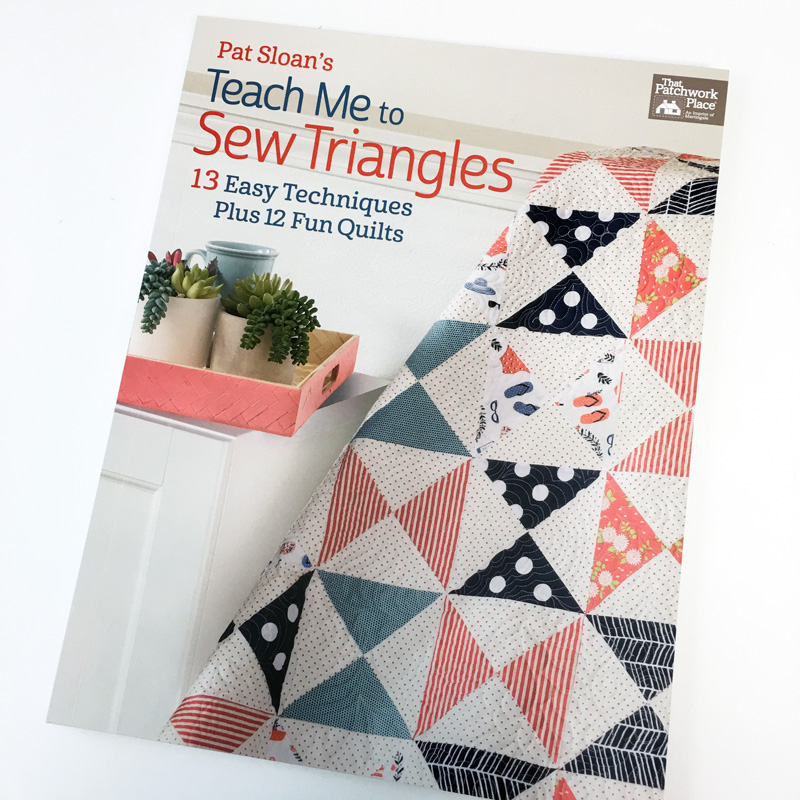
In addition to showing several methods for half-triangle squares, the book includes methods for quarter-triangle squares and flying geese.
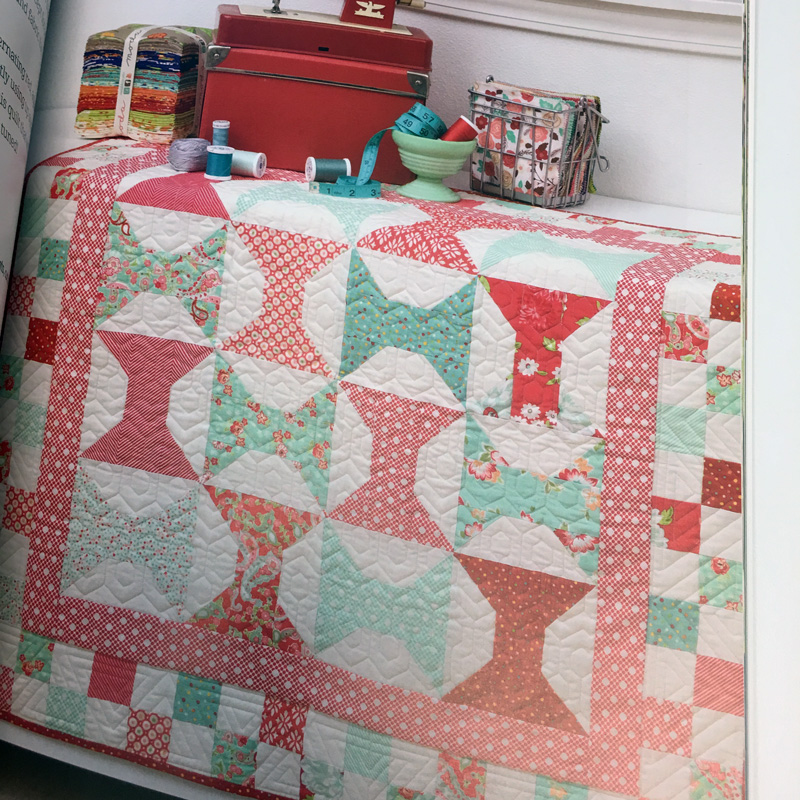
And some really pretty projects.
That's it for me today!
(The two winners of the All-In-A-Row books and Layer Cakes has been notified via e-mail.)

Comments